> For the complete documentation index, see [llms.txt](https://docs.testwheel.com/llms.txt). Markdown versions of documentation pages are available by appending `.md` to page URLs; this page is available as [Markdown](https://docs.testwheel.com/application-data.md).
# Application Data
The **Application Data** module in TestWheel allows users to create, manage, and maintain test data required for automation testing. This module helps users configure application authentication details, UI properties, test scenarios, and user data in a centralized interface for efficient test execution management.
Users can access the **Application Data** page by selecting the **Application Data** icon from the TestWheel Dashboard.
### **Selecting Application**
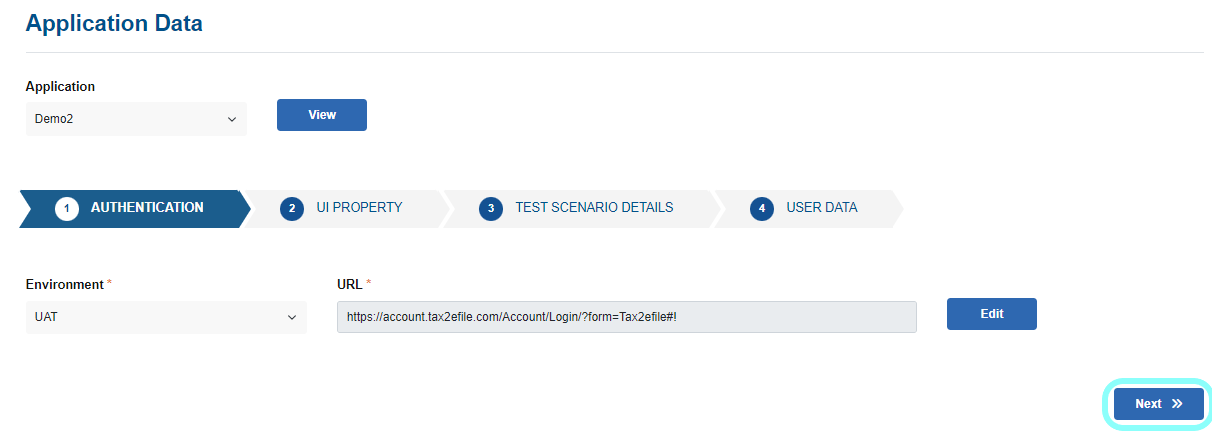
After opening the **Application Data** module in TestWheel, users must select the required **Application** and corresponding **Version** from the dropdown lists of registered Web Applications. Once the application and version are selected, click the **View** button to load the Application Data configuration page
## Application Data Configuration
After clicking the **View** button, the Application Data page opens with the following configuration tabs:
1. **Authentication**
2. **UI Property**
3. **Test Scenario Details**
4. **User Data**
These tabs help users configure complete test data required for automation execution.
## **1. Authenticaton**
In the **Authentication** tab, users must select the required **Environment** from the dropdown list and provide the **Target Test URL** of the application in the URL input field.After entering the required details, click the **Next** button to proceed to the **UI Property** tab.
### 2. UI Property
The **UI Property** tab allows users to create and manage UI element details required for automation testing.
Users can click the **Add New** button to create a new test case and enter the required **Data Sheet Name**. After that, users must fill in the UI Property table with the following details:
* Property Name
* Locator Type
* Locator Value
* Selenium Action
* ID Value
* Description
* Expected Result
* Pass Result
* Fail Result
After entering all required information, click the **Submit** button to save the UI Property data successfully. Then click the **Next** button to proceed to the **Test** **Scenario Details** tab.
### 3. Test Scenario Details
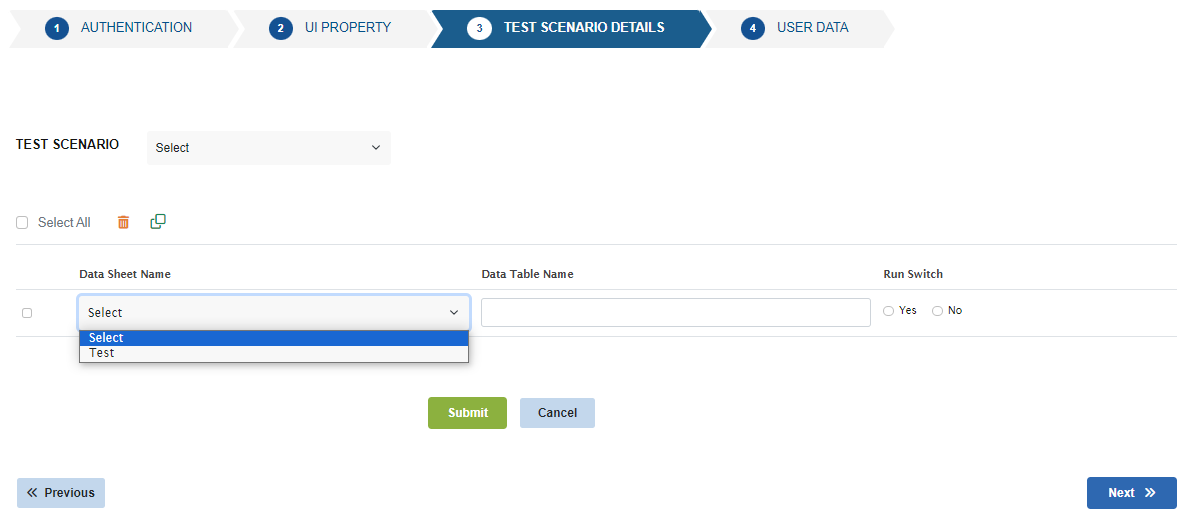
In the **Test Scenario Details** tab, users can configure automation test scenarios by clicking the **Add New** button.
Users must:
* Select the previously created **Data Sheet Name**
* Choose the required **Sheet Name**
* Enter the **Data Table Name**
* Configure the **Run Switch** option
The **Run Switch** option allows users to define whether the scenario should be executed:
* **Yes** – Execute the scenario
* **No** – Skip the scenario
After entering all required details, click the **Submit** button to save the test scenario configuration.
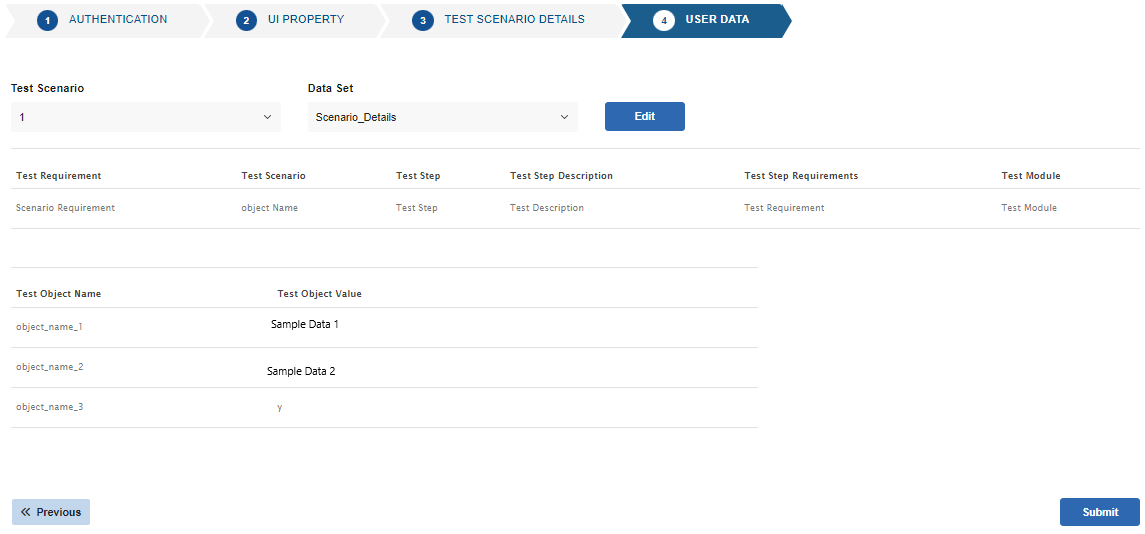
## **4. User Data**
Users must select the required **Test Scenario** and corresponding **Data Set** from the dropdown lists. Based on the selected configuration, users can manage and provide the necessary scenario data required for the automation process.After entering the required details, users can click the **Submit** button to save the User Data configuration successfully.
### **Editing the Uploaded Test Data**
Users can use the **Application Data** module in TestWheel to perform **Edit** and **Delete** operations for uploaded Excel documents associated with the selected application. Users can also trigger the automation test execution directly from the **Application** page.
---
# Agent Instructions
This documentation is published with GitBook. GitBook is the documentation platform designed so that both humans and AI agents can read, navigate, and reason over technical content effectively. Learn more at gitbook.com.
## Querying This Documentation
If you need additional information that is not directly available in this page, you can query the documentation dynamically by asking a question.
Perform an HTTP GET request on the current page URL with the `ask` query parameter:
```
GET https://docs.testwheel.com/application-data.md?ask=
```
The question should be specific, self-contained, and written in natural language.
The response will contain a direct answer to the question and relevant excerpts and sources from the documentation.
Use this mechanism when the answer is not explicitly present in the current page, you need clarification or additional context, or you want to retrieve related documentation sections.